To add users to Greetly, you must be a Global or Location Admin logged into your web portal.
You have the ability to add users to Greetly in three ways:
- Manually
- In bulk, via a CSV or Excel file
- Via an API
After users have been added, you can configure options for them, including other locations, role, default check-in option, and type of notifications they will receive.
If you would like to upload photos for user, the recommendations are:
- JPEG or PNG format
- 800 x 800 pixels
- 100kb file size or less
Finding Manage Users
Click on Manage Users in the top navigation bar, or click on the Manage users icon.
![]()
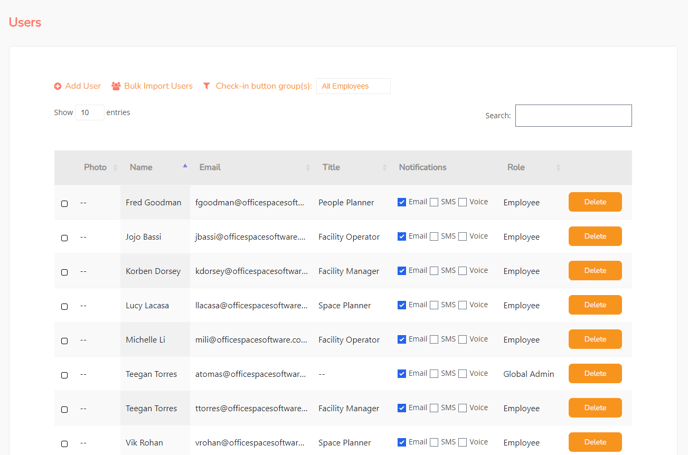
The Users screen then opens.
You must be a Global or Location Admin logged into your web portal account to access this feature.
Uploading Users Manually
This approach is best for adding a single host or if you only have a couple of changes to make.
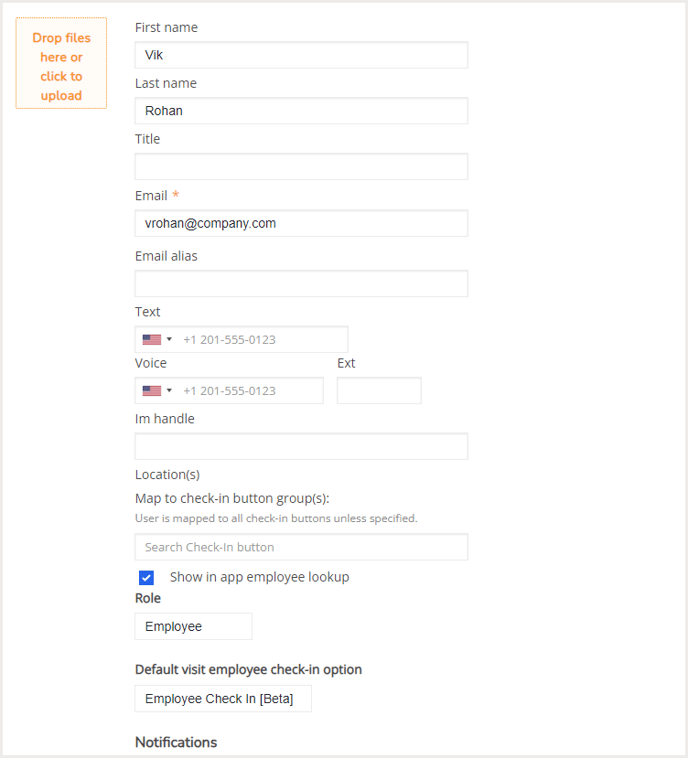
Click on Add User to upload a single user into the directory.
You are required to enter the user's first and last name, and an email.

After you have entered all the required details, click Add.

Importing Users in Bulk
You will need a CSV or XLSX file with header columns set properly for the file to upload. The required order is:
email, first_name, last_name, company, ms_phone, voice_phone, voice_extension, im_handle
Click here to download a properly-formatted template.
Please allow up to three hours for all users to show up in the directory. It is useful to note that the system will not display duplicate emails for users.
Adding User vis API Integrations
You can leverage a directory service for your organization, such as on-premise Active Directory, Azure AD, Google Workspace, or Rippling.
If you manage a coworking space, Greetly has direct integrations with essensys Operate and Satellite Deskworks. You can take advantage of our Zapier integration to connect Greetly to coworking software apps including Cobot, OfficeRnD, andCards, and other leading products.