Generating a New Key
To start, open the Azure control panel (https://portal.azure.com/#home), and navigate to the Azure Active Directory page.

From your Azure Active Directory dashboard, navigate to App registrations.

In the app registration page, select the app registration associated with Greetly. In our case, it’s Greetly Azure sync demo, but yours will likely be different

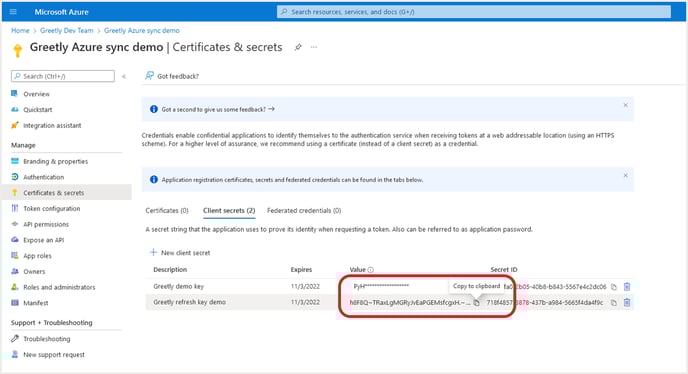
In the selected app registration, navigate to the Certificates & secrets page.
On the Certificates & secrets page, delete the old key, then select New client secret.

You can name the key whatever you like. In this case, we named it Greetly refresh key demo.
Important: The key expiry duration must be set to 6 months.
Click add once you’re finished.

Copy the new key and paste it into a text file. You’ll need it later. The key will disappear once you leave the page. If you lose the key, simply delete the old key and make a new one.
Note: Be sure to set a 6 month reminder to refresh the key. The integration will not work once the key expires.
Updating the Key in Greetly
Log into your Greetly web admin portal and select Account Settings from the Profile settings dropdown menu.

The Account Settings screen then opens.
Select the Directory Integration dropdown.
Delete the old private key, and paste in the one that you just copied from Azure.

Then navigate to the Manage Users screen.

Click the Sync from Azure button.
![]()
Any missing users should populate within the next couple of minutes.