Note that this feature is only available with our Pro plans.
You must be a Global or Location Admin logged into your web portal account to complete this action.
Enabling a Custom Name for Notification Emails
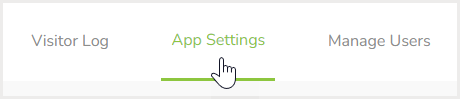
Click on App Settings.
The App Settings screen then opens.
Click on the Location tab.
Then click on Notification Preferences.
Locate the Email section.
Enter the required name in the Custom email <from> title field.
As an example, the image below uses the name "Teegan Torres".
Click on Save.
Please note that although a custom name will now appear, the email will still be transmitted from the email address notifications@greetly.com.
