When you’re expecting an important guest, you want to make visitor registration fast for your visitor. You also want to provide them with valuable information ahead of their visit. Let Greetly preregister the guest for you.
Preregistration invitations can only be sent from Default Workflow check-ins. The check-in cannot have Drivers License Scanning enabled as this function only works on the app itself and is not suitable for preregistration purposes.
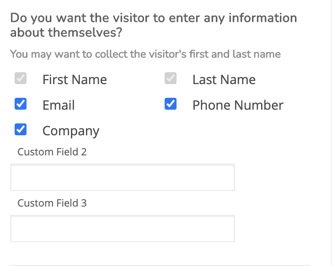
You must collect the visitor’s email address in the Do you want the visitor to enter any information about themselves? section.
Setting Up the Preregistration Feature
You must be a Global or Location Admin logged into your web admin portal to enable this feature.
Click on App Settings.
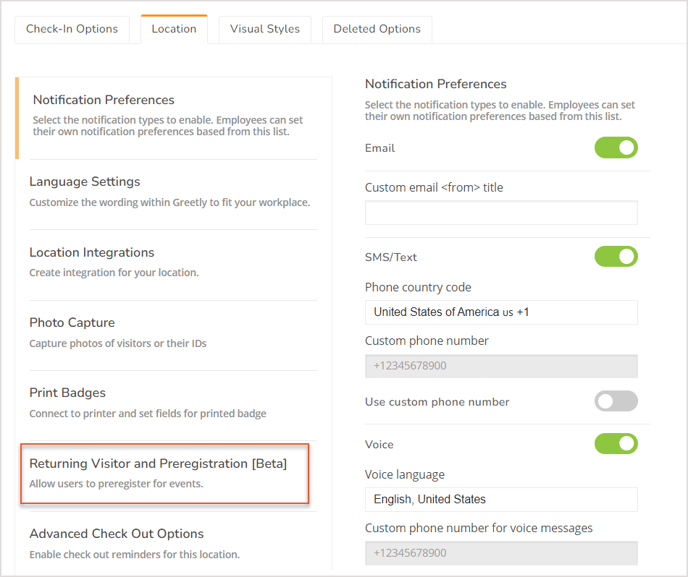
Click on the Location tab.
Click on Returning Visitors and Preregistration (Beta).
Toggle Preregistration to on.
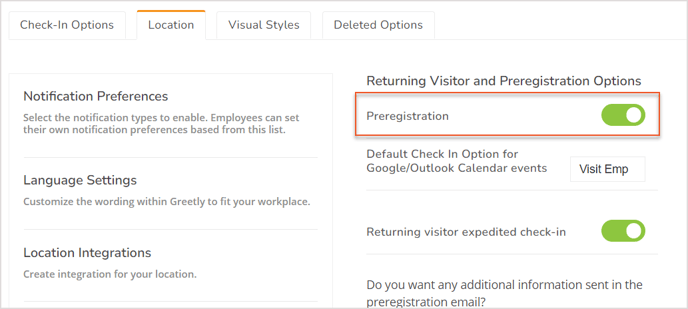
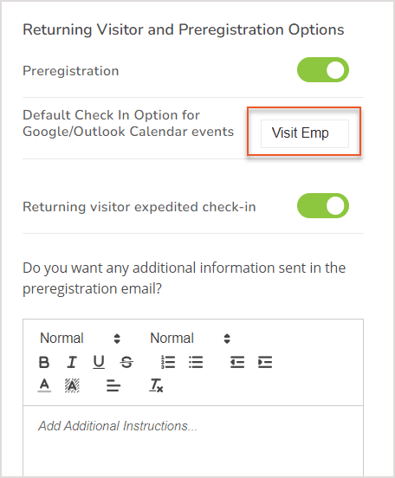
Next to Default Check In Option for Google/Outlook Calendar events, select your Default Check-in.
You are able to send Outlook/Google Calendar Preregistrations from a different check-in. For these cases, please select the required Check-in and click Save.
Remember to revert back to your original default check-in for convenience.
You also have the option to add text that will be included in the preregistration email to your future visitors. You might wish to include directions to your office, parking information, and guidance to finish the check-in process with the Greetly visitor check-in app kiosk.
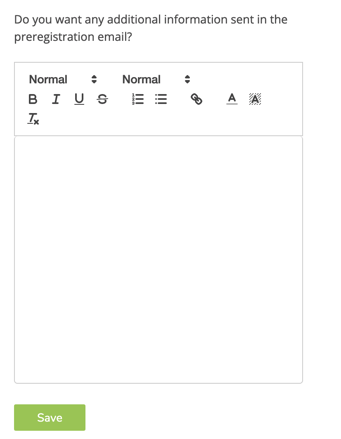
Click on Save to save your changes.
Customizing Your Preregistration Settings
Ensure that the Check-in button you are setting up preregistration for has the email field selected in the Do you want the visitor to enter any information about themselves? section.
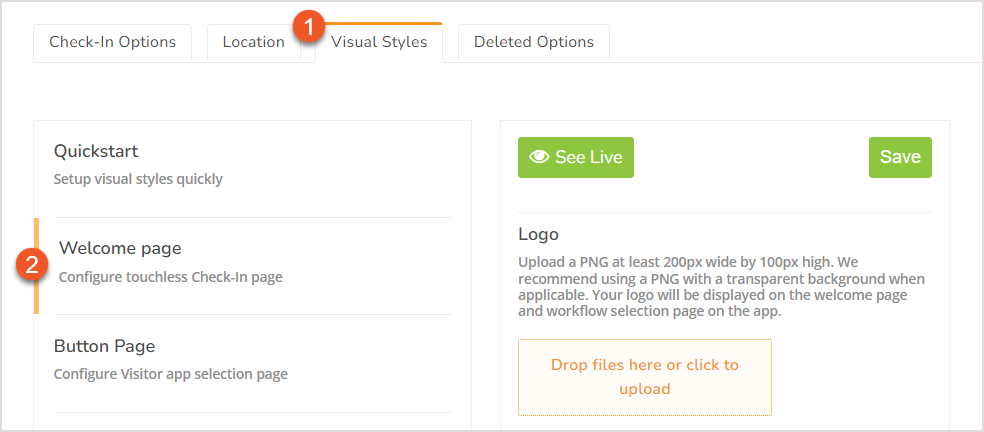
Go to Visual Styles (1), and select Welcome Page (2).
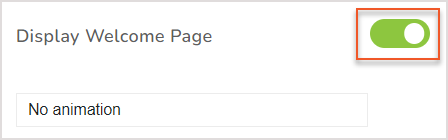
Scroll down and turn on the Display Welcome Page, so your preregistered visitor can scan their QR code to check in upon arrival.
Manually Preregister a Visitor From Your Web Admin Portal
All Greetly users are able to preregister their visitors if this functionality has been enabled by a Global or Location Admin.
Important notes:
- The user setting up the preregistration invite must have the location listed in the profile they are sending the invite for.
- The user setting up the preregistration invite must be listed in the check-in button (ex: Visit employee, etc.).
- A Global or Location Admin can set up preregistration for any user.
- A non-admin role user (ex: employee role), can only preregister a visitor for themselves.
- Once you create a preregistration, you can't make any edits. You will have to delete the preregistered visitor and start over.
Log in to the Greetly web app.
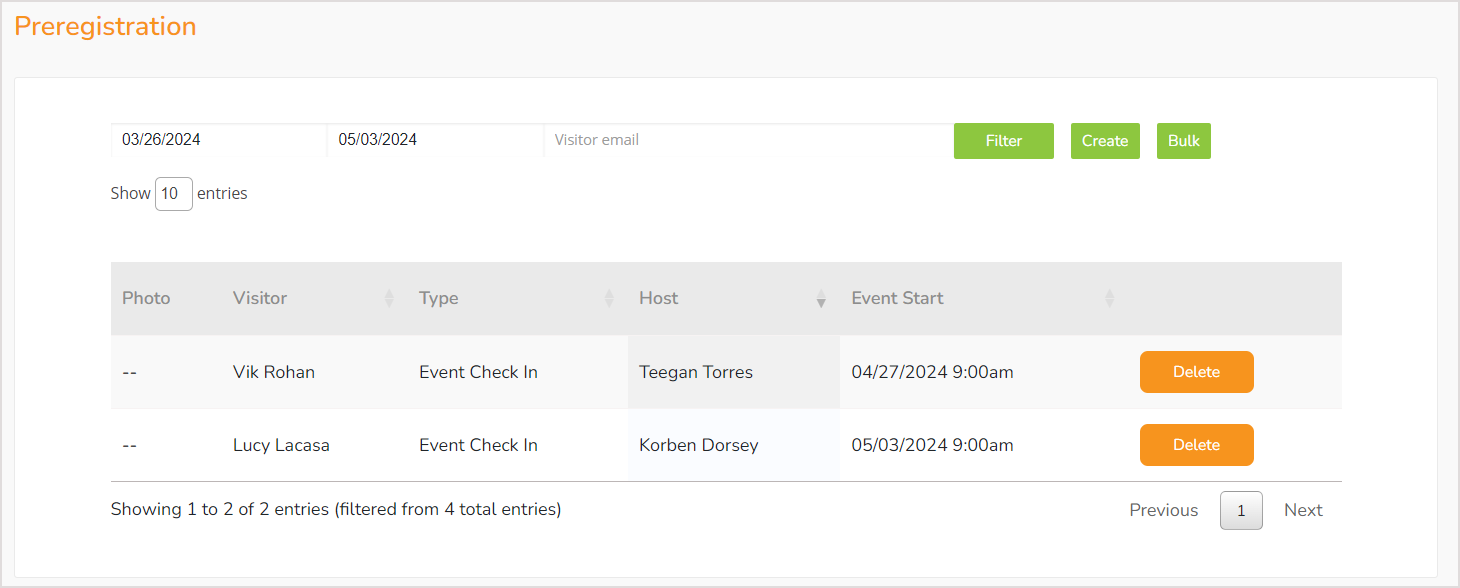
Click on Preregistration from the top navigation bar.
The Preregistration page then opens.
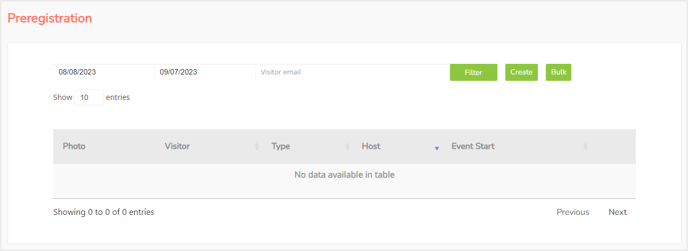
Click on Create.
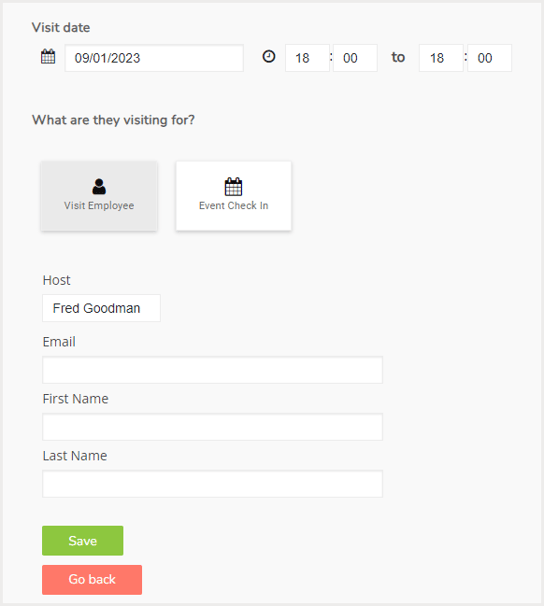
Enter visit date and time of arrival.
Choose the reason for the visit.
Select the host who will receive the notification.
Enter the visitor's email to receive the preregistration details.
Other fields shown will depend on the information you collect from visitors when they check-in. These details will be filled in by the visitor if they checked themselves in on the Greetly sign-in app.
Click on Save.
Creating a Bulk Preregistration
Click Preregistration.
Click Bulk.
Enter visit date and time of arrival.
Choose the reason for the visit.
Select the host who will receive the notification.
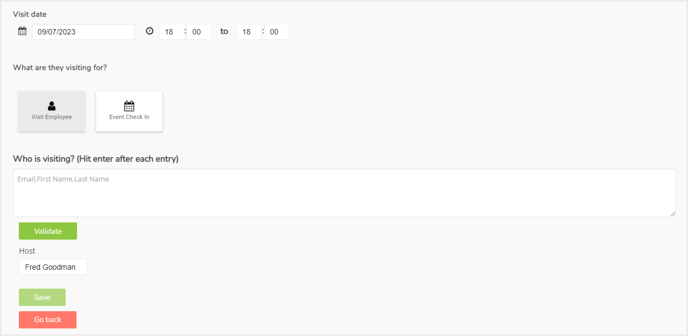
Enter the names of the visitors in the format: Email address, First Name, Last name
Ex: janesmith@email.com, Jane, Smith
Hit Enter after each entry to go to the next line to add the next visitor's information.
After you are done adding all of the visitors, click on Validate.
Note that you can click on the edit button to add more names if you missed anyone.
You may find this bulk registration template helpful.
Preregistering Visitors Directly From Your Calendar
Currently, invitations can only be sent via email for the Visit Employee check-in button.
You must be a Global or Location Admin in Greetly to preregister guests using Outlook and Google calendars.
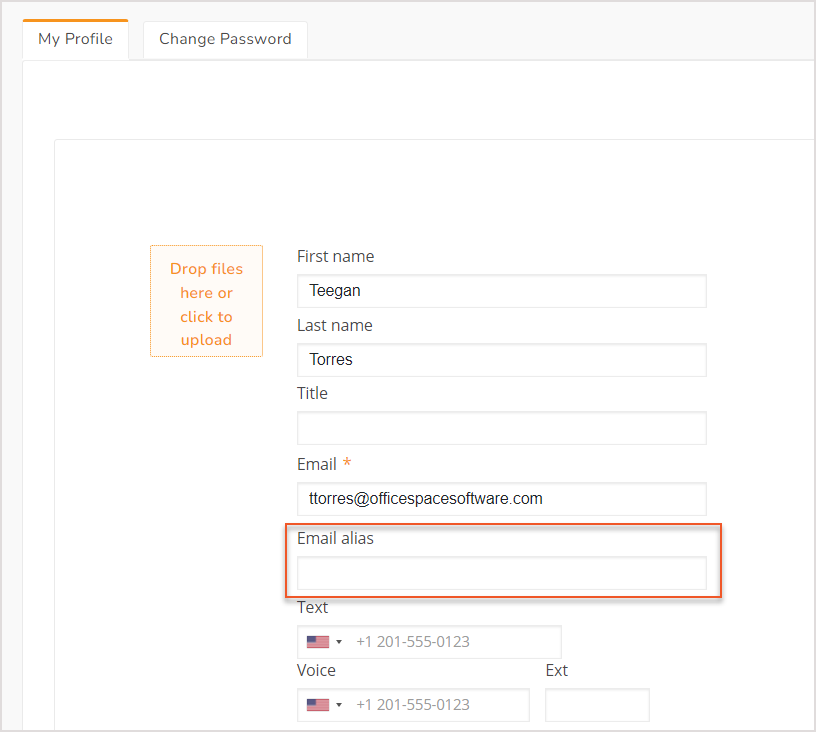
Microsoft Outlook users will need to copy their Outlook alias from their Outlook settings.
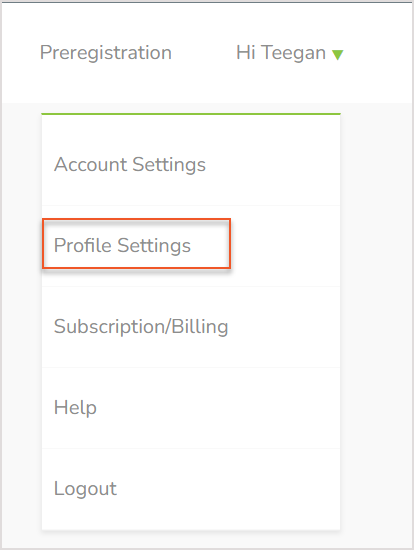
Visit the Profile Settings page.
Paste the Microsoft Outlook alias in the email alias field.
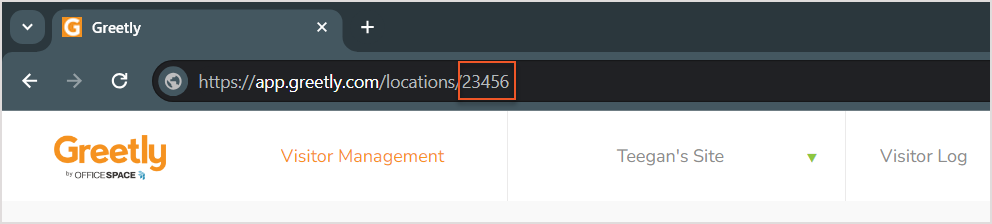
Go to your calendar and select a date and time.
Add the location ID number only on the calendar.
Create a calendar invitation, and include this email address to the invite(s): register@greetly.com
Add your guest emails to the invitation.
Greetly will automatically determine which invitees are already in the host directory and send everyone else a preregistration email.
Your guest will receive a calendar invite with a link to preregister.
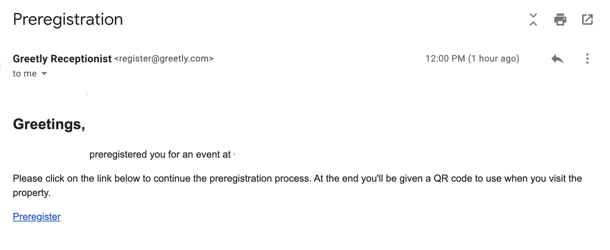
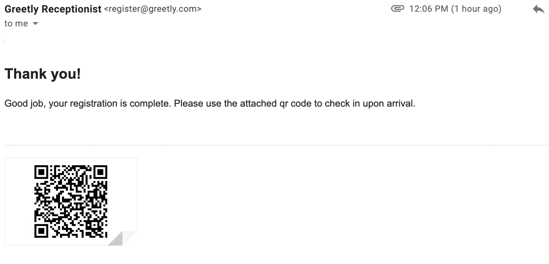
The visitor will need to click on the "Preregister" link to complete the registration. After they preregister they will receive a second email with the QR code they will use to scan from their phone once they arrive at your location.
Please note you can use any calendar system, including Outlook.
In the event that an invitation has been accepted you will see an Event created in the Preregistration tab in your Greetly Account. If the user does not accept the invitation, Greetly will check the user in and out in your visitor log, once the invitation has expired.
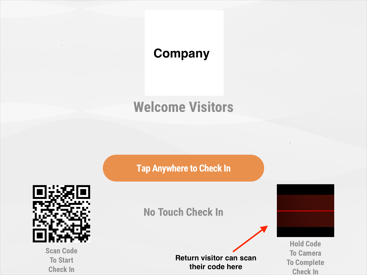
Upon arrival, the preregistered visitor will need to hold up their QR code from their phone to the camera on your device.
Booking Desks for Preregistered Visitors in OfficeSpace
You can book a desk for a visitor who has been preregistered as a visitor in the office for the day of their visit. Greetly Visitor Management must be connected with OfficeSpace for this functionality to be available. If you have an OfficeSpace system, you can learn how to set up Greetly Visitor Management with OfficeSpace Software.
After you set up both systems, you can book a seat for your preregistered visitors. Read more in the Booking a Desk for a Visitor article in the OfficeSpace Help Center.