Do you want your team members to only be able to get searched by visitors for certain check-in options (ie: Visit Member/Employee, Tour our location, Event check-in, etc.)? Do you want users from a certain company/group to show up in the directory when a visitor searches a particular check-in option?
Important Notes:
- You must be a global or local admin logged in on the web browser in order to follow these steps.
- Once you add a user to the "Map to check-in button" section for a particular check-in button (ie: Visit Member/Employee, Tour our facility, etc.), other users will not show up in the directory when a visitor checks in to search for users for that check-in button unless you add them to the Map to check-in button group.
- If you want all of your users/members to be listed in the directory for the same check-in buttons, you DON'T need to use the "Map to check-in button" (Check-in button group(s)). For example, you would leave this section blank for all user member profiles.

Ready to get this set up? Follow the steps below.
Step 1-
Click on "Manage Users".

Step 2-
Click on the "Users" name.
Step 3-
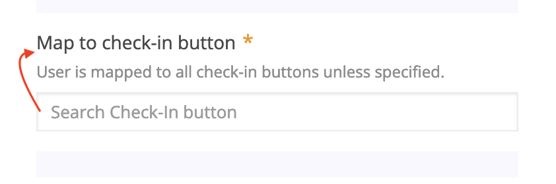
Scroll down to the "Map to check-in button" section and type the name of the check-in button(s) one at a time that you would like to add to the team members' profiles inside the box.
Step 4-
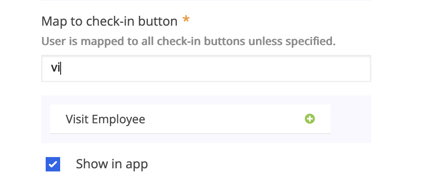
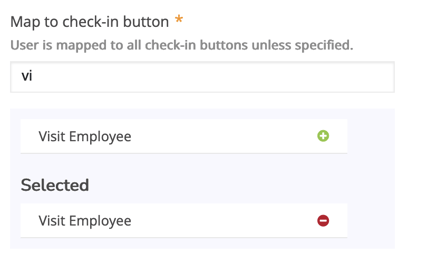
Click on the "green" plus sign next to the check-in button(s) you want to add. They will then show in the "Selected" section.
Step 5-
Make sure the "Show in app" section is checked.
Click the "Save" button
Step 6-
VERY IMPORTANT: Now that you are using the "Map to check-in button" feature, you'll want to make sure you follow these same steps to add any other additional members to a particular "check-in button", otherwise they will not show up in the member's directory when a visitor checks-in to search for the member.
Lastly, seeing how you made changes on the web admin you'll want to make sure the updates are being reflected on the app. Please follow the steps in this knowledge base article on "How to "RELOAD" or "LOG OUT" of the Greetly app.
And you're done!
Do you need to remove users from the "Map to check-in button"?
Step 1-
Click on the "Users" name
Step 2-
Scroll down to the "Map to check-in button" selected section and click on the red minus symbol next to the check-in button name you want to remove
Step 3-
Click the "Save" button and you're done!
Do you have a large list of users you need to remove from the User group? Email us your list at success@greetly.com and we will be happy to assist you.