
Important notes:
- The logo has to be at least 600 x 600 (but more is always better).
- The background image should be 1800+ x 1800+, depending on device orientation.
- There is no way to change where the logo is placed.
A modern office like yours has a carefully curated visitor experience. Most everything a visitor (and employee!) sees is designed to create excitement around your brand and mission.
That is why we created the incredibly customizable visitor management system. Visitors will only see your logo, visuals and brand colors -- they will never see Greetly branding. Not even really small, in the corner!
This article covers how to customize your graphics so your visitor registration software perfectly reflects your brand, and no one else's.
- Log into Greetly's web-based admin at https://app.greetly.com/
- Select "Visual Styles" > Welcome page
- On this screen, you can select from one of several standardized themes.
- Or, you can select your primary brand color.
- Upload your own logo, a JPG or PNG that is at least 200 pixels wide by 100 pixels high.
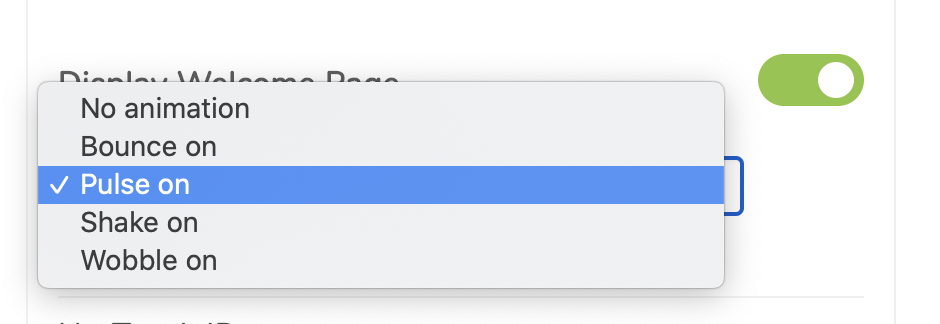
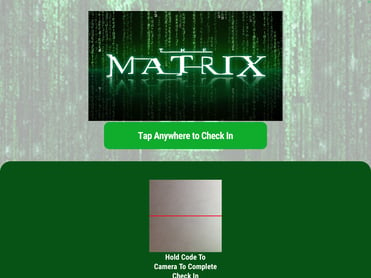
- Decide whether or not to use our "Welcome Screen". This page is meant to provide big branding and motion to draw the attention of your visitors. In addition to turning this on or off, you can upload the central image, a JPG or PNG that is at least 400 pixels wide by 500 pixels high and choose the type of motion. You can also select an animation (Bounce, Pulse, Shake, Wobble).
- Don't make your primary color "White".
The primary color in Quick Start (Visual Styles) should never be "White" as this causes issues seeing certain parts of the Greetly app.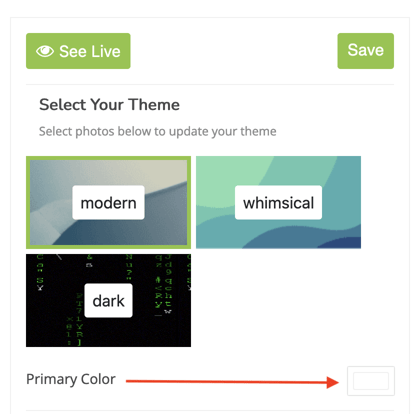
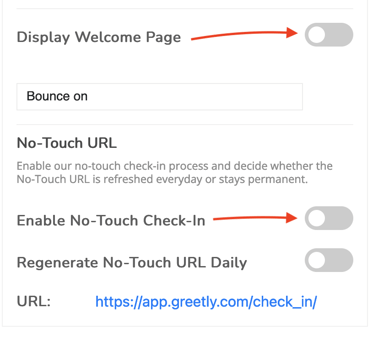
- If you don't want to show the "Welcome Screen" on your device you can follow the steps below to turn this feature off.
a. Click on App settings > Visual Styles > Welcome page > Scroll down and toggle off the "Display Welcome Page" and "Enable No-Touch Check-In" > Click on "Save" > Reload the app on your device so the changes will show up immediately > Now, the app will only display the Check-in button page (ex: Visit employee, Package Delivery, Check out etc.).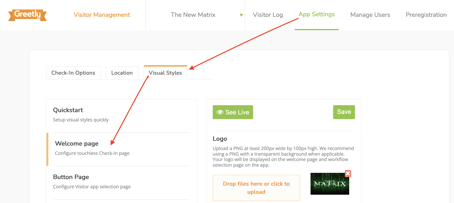
- Click "Save" to save your brand customizations.
- You can also add your own header image and secondary brand color by clicking on "Advanced Style Options".
Now you are looking sharp!