Greetly provides many default buttons and workflows to get you started, but what if you want to customize your visitor check-in workflow? Default workflows are not editable (though you can customize the buttons), but you can create a custom check-in workflow using the New (beta) Workflow option.
It is important to note that although you can have both a default and a custom check-in button, you can only enable one of these buttons at any given time.
You must be a Global or Location Admin logged into your web portal account to access this feature.
Creating a Custom Button
The first step to create a new (beta) Workflow is to create a custom button.
Click on App Settings.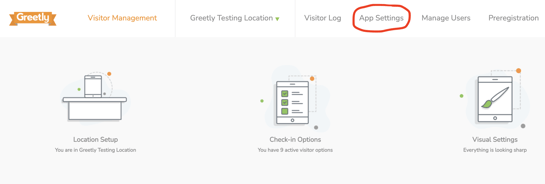
Click on Check-in Options.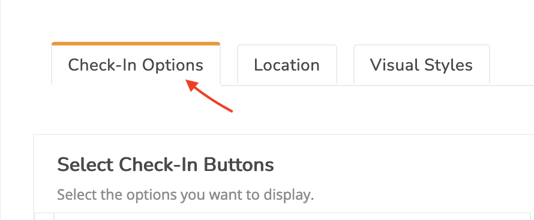
You can either:
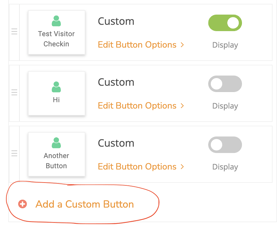
- Scroll down and click on Add a Custom Button, or
- Edit Button Options for an existing Custom button
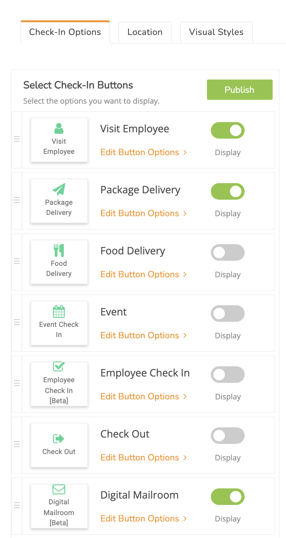
Name your custom button.
Click on Publish.
Creating a New Workflow
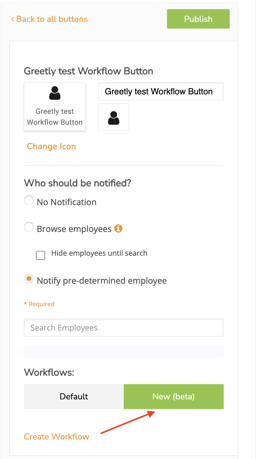
In the Workflows section, click on New (beta) and then click on Create Workflow.
The Workflow page then opens. 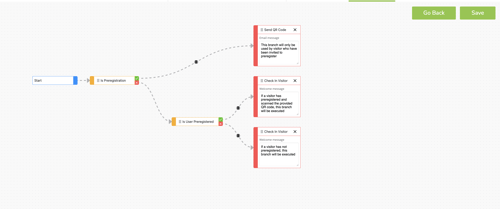
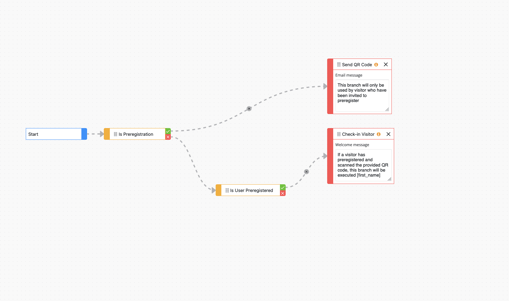
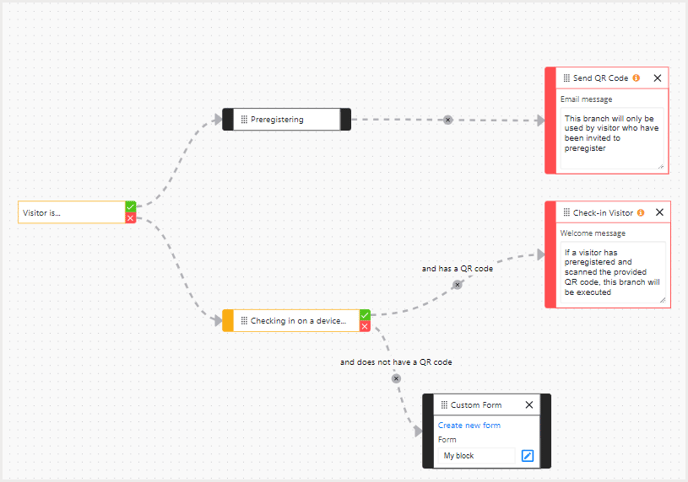
Click on the X to delete the Check-in Visitor box.
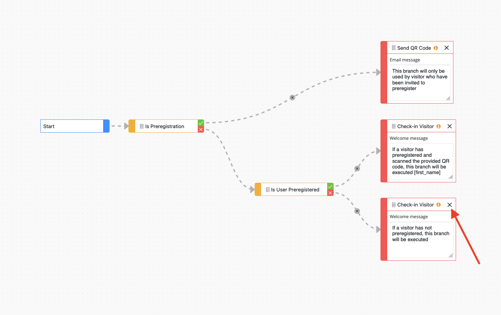
The flow should now look like the image below:
Creating a Custom Form for Your Workflow
The next step to create your workflow is to build a custom form. The Workflow fields inside the custom form block will populate during the visitor's check-in.
Select Custom Form for your first block.
Drag this block to the pane and connect it to the X beside the Is user Preregistered box.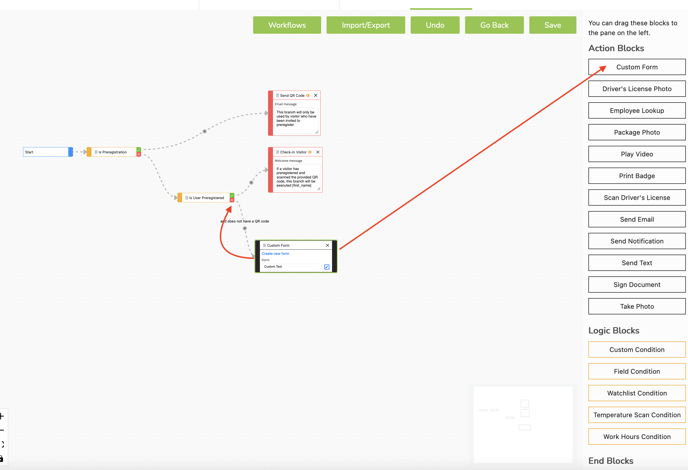
You can now create custom questions inside the form.
Click on Create a custom form inside the Custom form block.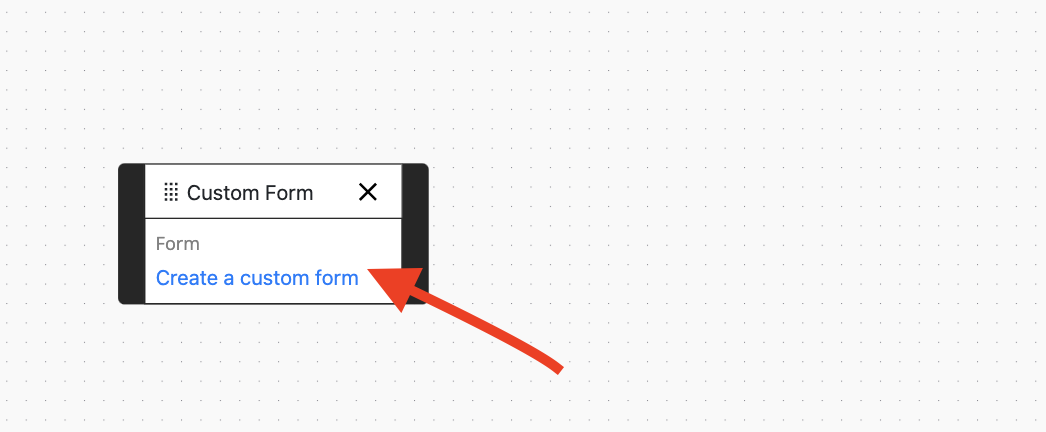
Name your Workflow form.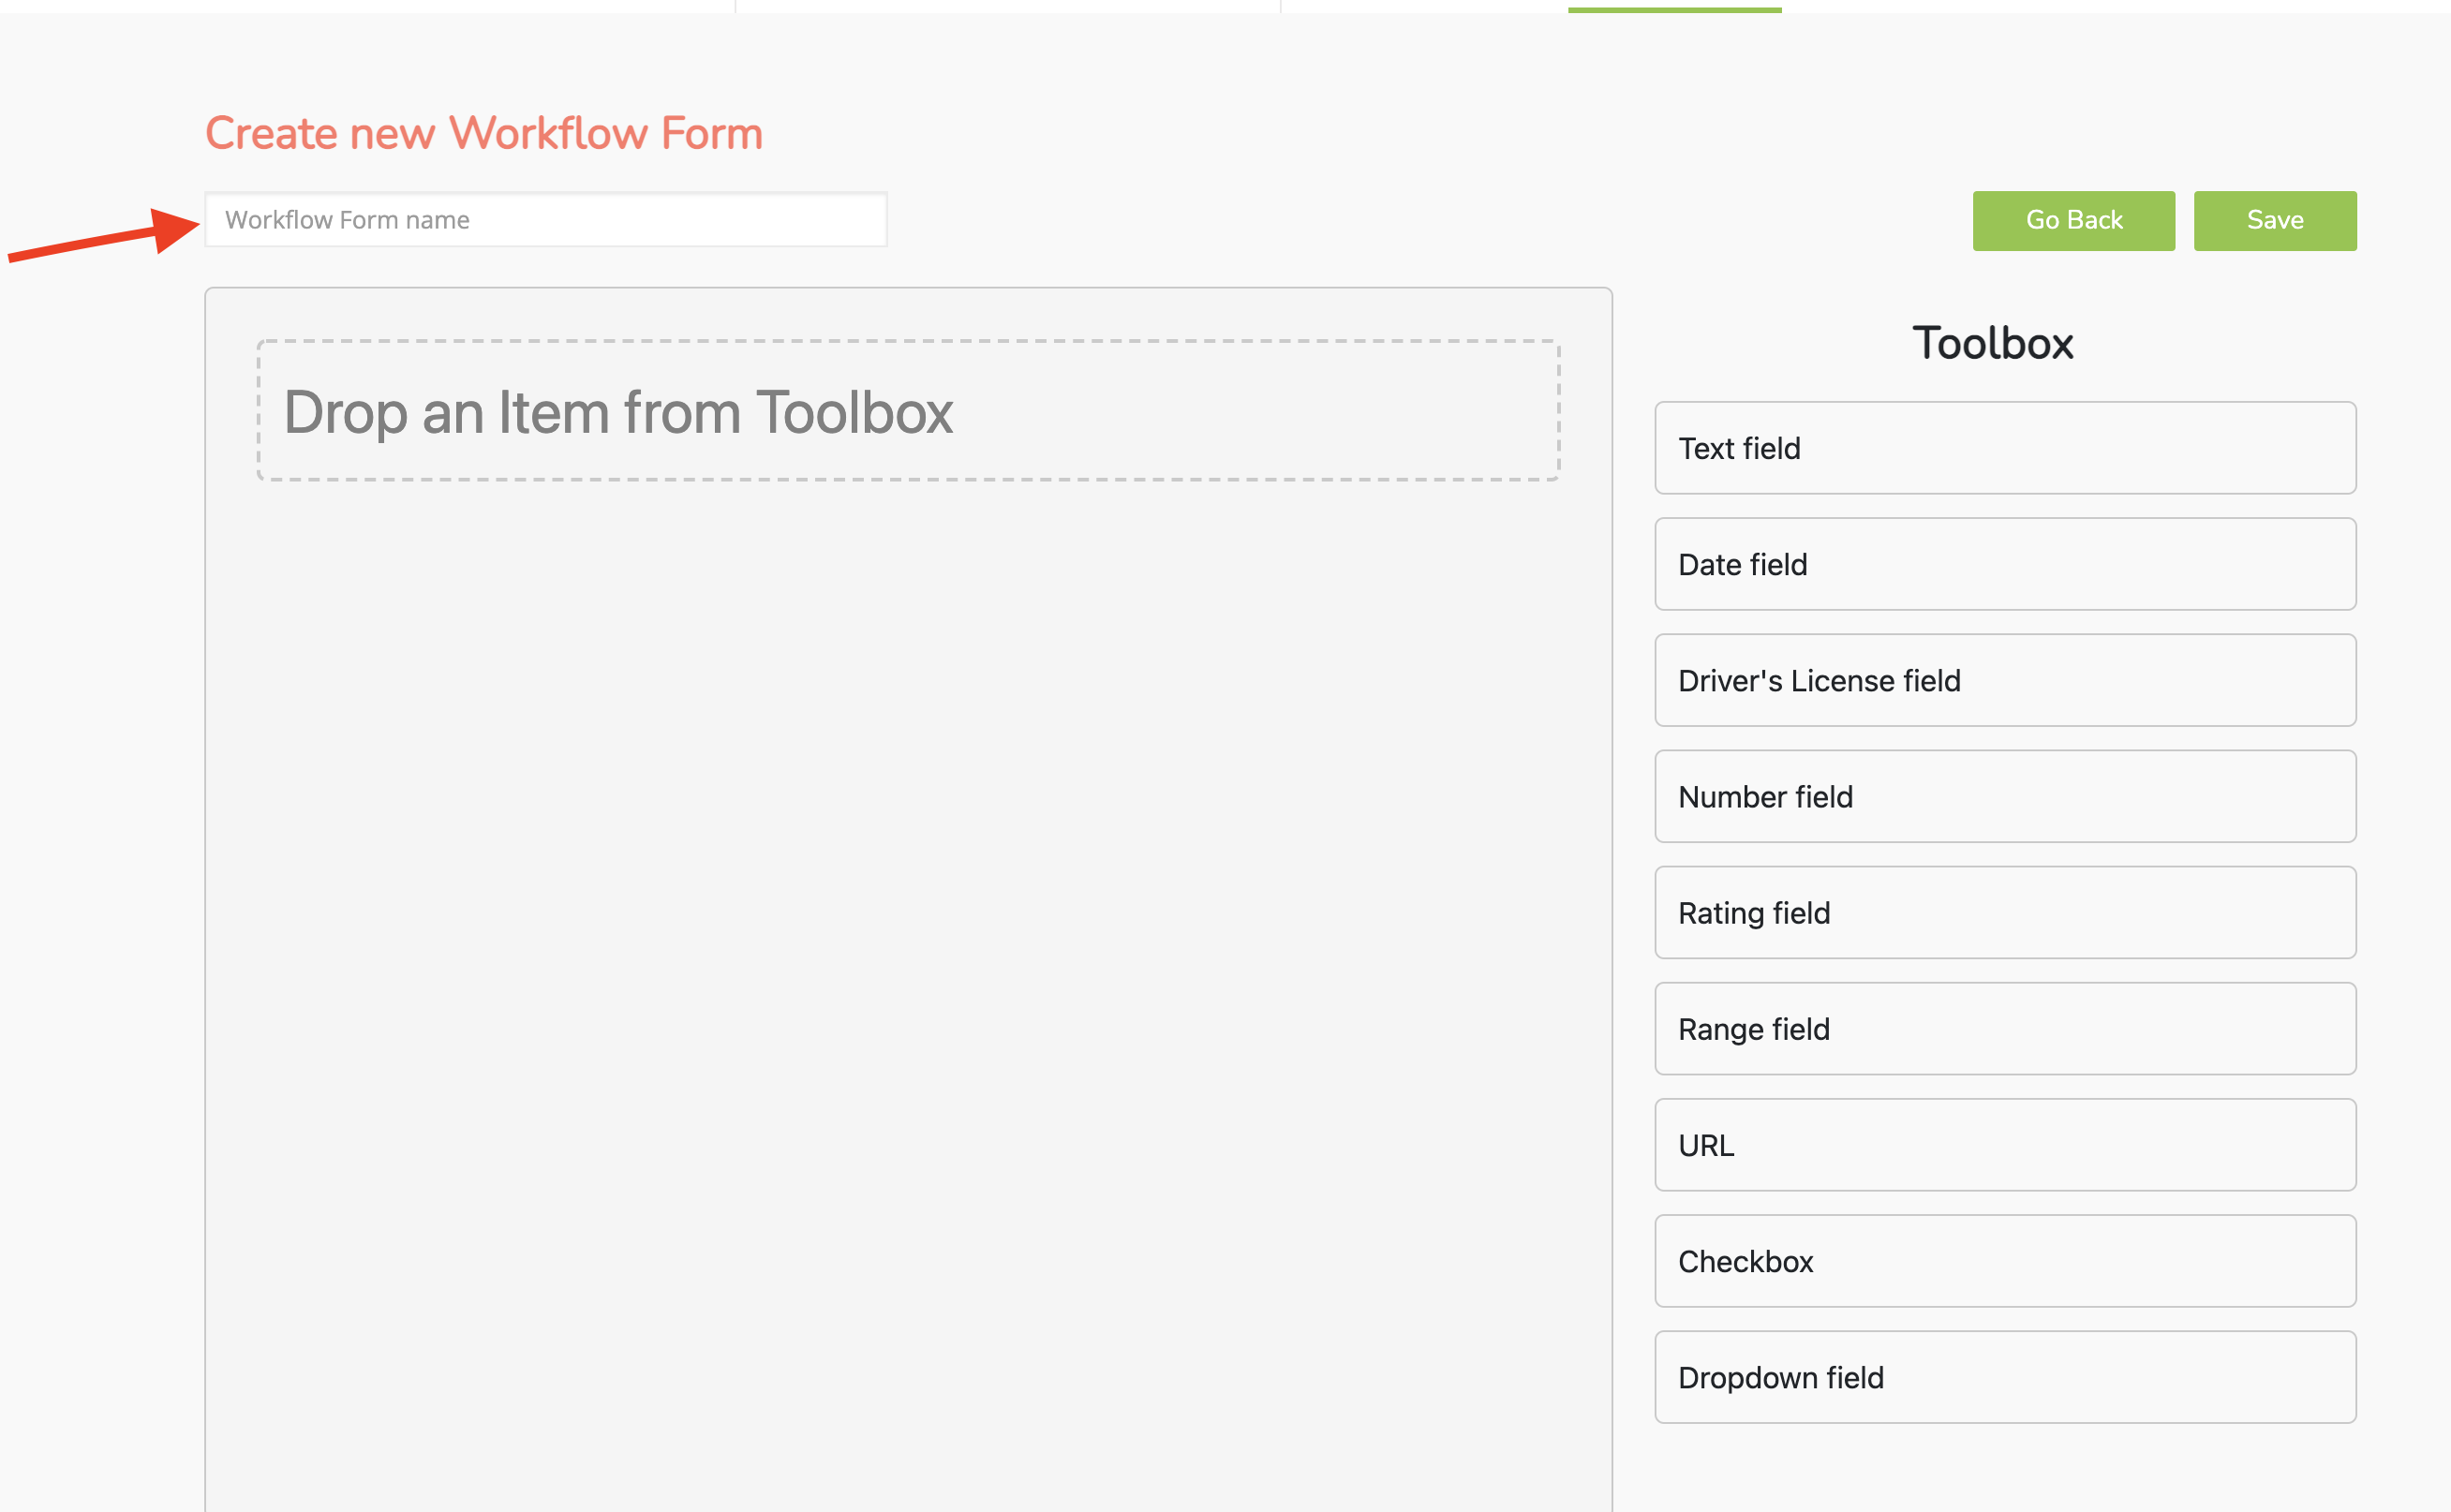
Select and drag items from the Toolbox section and drop into the workflow section.
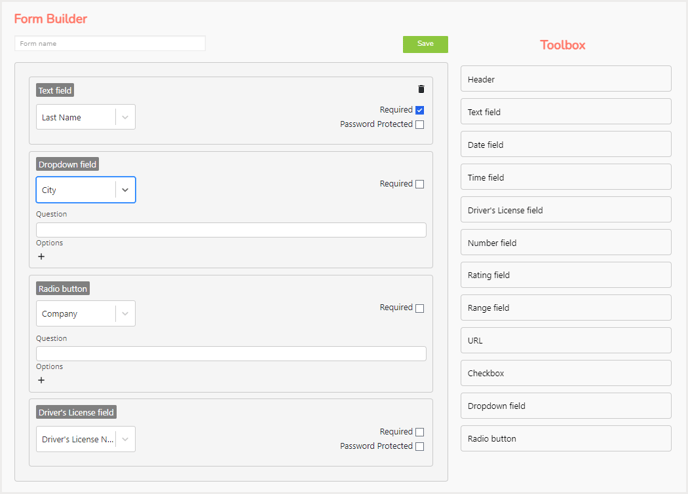
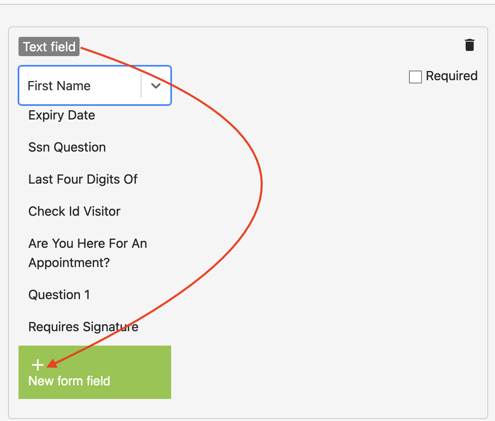
All fields have pre-populated options, but you can also create your own field by clicking on New form field.
You can select a checkbox to make the question Required or have the response be Password Protected.

Click on Save when all required fields are in place.
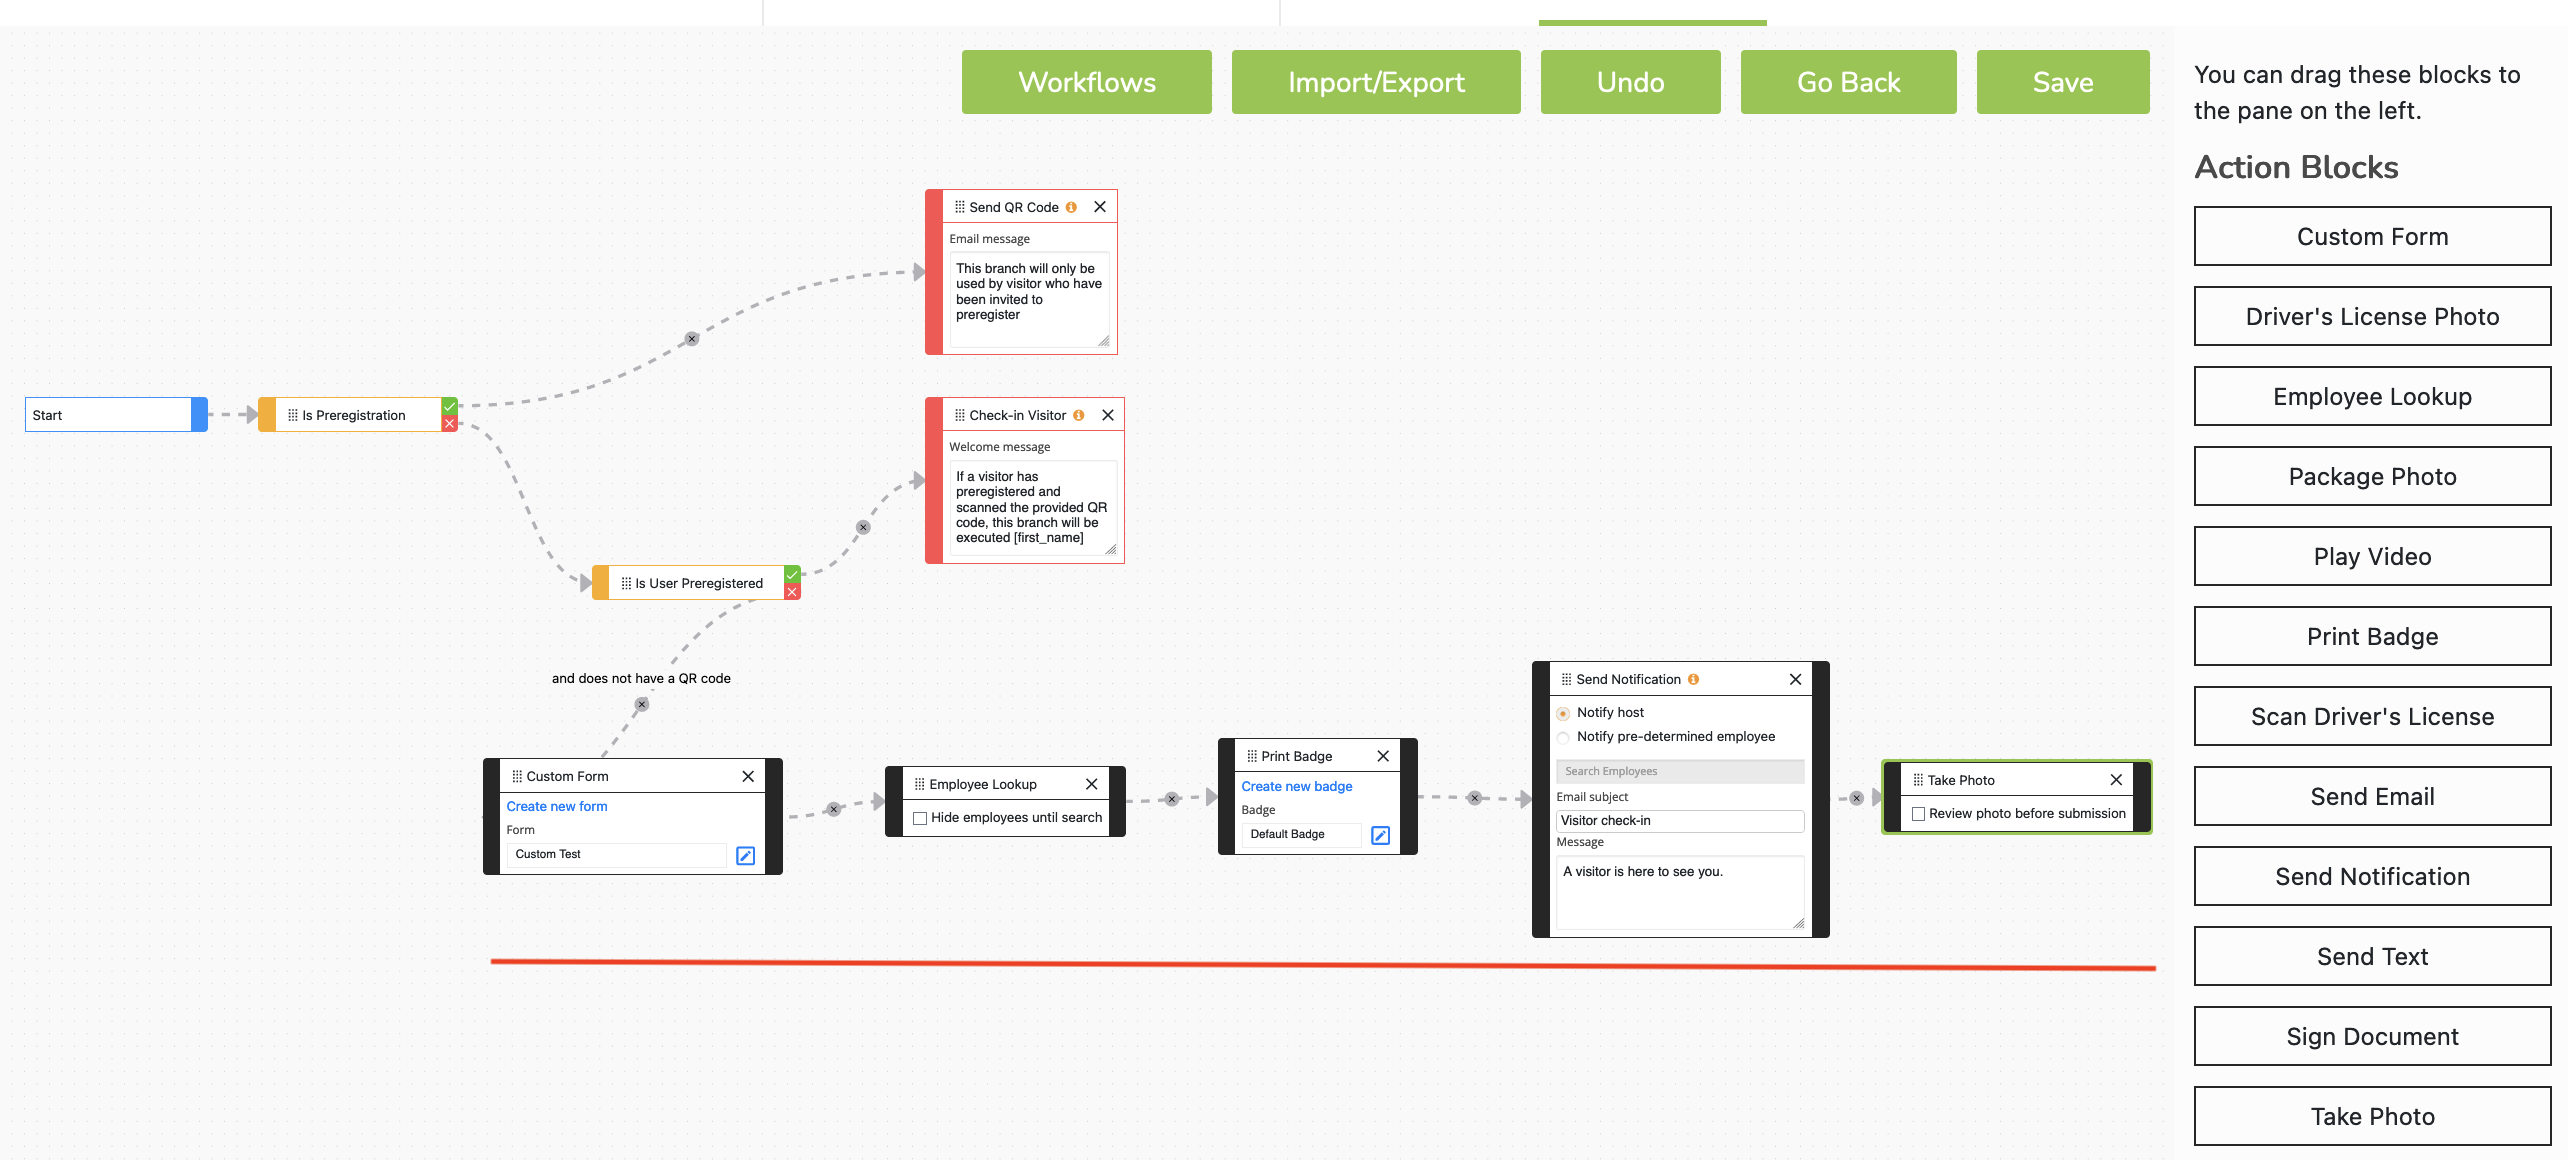
Placing Action Blocks in Your Workflow
Select your next blocks from the Action Blocks section and drag them to the pane one by one.
Connect the blocks from the right side to the left side of the next block. Ensure that each arrow connecting the blocks is flowing to the right.
Some popular Action Blocks include:
- Employee lookup block - During check-in, a visitor will have the option to look up the employee they are visiting, or, if the Hide employee until search option is enabled, the visitor will have to type in the first letters of the employee's first name before suggestions come up
- Send notification block - Visitor notification will be sent to the employee/host or the predetermined employee if this field is selected
- Send text block - A customized check-in text is sent to the visitor during or after check-in is complete
For a complete list of all Workflow Action blocks, check out this article.
Closing Off the Workflow
You must close off a workflow with an End Block. Your workflow will not save unless there is an End Block as the final step in your workflow. Only one End Block can be used for each pane row.
Drag Check-in visitor from the End Blocks section to the pane and connect it to your last block.
Add your customize message for the visitor and click on Save.

Click on Publish.